Update (2024-11-17): Fixed the wrong sudo echo command with sudo tee. Updated Caddy installation steps to add a minimal Caddyfile which is required for Caddy to start without errors and for generating local certs.
If you’ve ever worked on multiple web projects locally, you might be familiar with the pain when it comes to serving them over localhost addresses: assigning and remembering those damn port numbers. If it’s just one project, you can use a port like 3000 and call it a day. But if you’re switching between projects or running them in parallel, you got to start giving them unique ports and remember them when typing in the address bar. And what about being able to use https:// with those localhost addresses and getting that to work without scary warning pages? More pain.
What if you could simplify all of this and just make it work? What if you could type https://react.test and have it point to your Vite server? Or https://api.test point to your Node server? Or https://preprod.project.test and have it point to the pre-prod server running locally? Buckle up.
We need two tools for this. First up—Caddy. It’s one of my favorite pieces of software and I use it to host and proxy everything under sangeeth.dev including this very blog. I got drawn towards Caddy many years ago seeing the simplicity of the configuration file and the promise of an extremely low-config HTTPS setup that it offered out of the box. While you can use Caddy to host public sites, you can also utilize it for your local projects to serve them over HTTPS as well as to avoid mucking around with port numbers.
For those unfamiliar, Caddy is a web server as well as a reverse proxy written in Go, much like Apache or Nginx that you might have worked with. But there’s a lot more you can do with it and if that’s not enough, can even extend it with community-made modules. Check out the excellent beginner-friendly docs to learn more.
Next, we need to run a local DNS server which tells our programs including the web browser to go to 127.0.0.1 whenever they need to talk to https://<something>.test much like how google.com resolves to a Google IP address when we type it out in the address bar. We’ll use dnsmasq for this which like Caddy, does a lot more than what I described.
Let’s see how we can use these tools on macOS to achieve our end goal.
Installing dnsmasq #
You can install dnsmasq and Caddy in a number of different ways but it is convenient to use Homebrew for this which I assume most macOS users have installed. If you don’t, go to brew.sh and come back once you’re done—it takes a minute tops.
With brew installed, enter the following command to install dnsmasq:
brew install dnsmasq
Configuring local DNS #
Let’s configure dnsmasq to reroute all requests for *.test to localhost. To do this in macOS, we can add files inside /etc/resolver to configure a nameserver for the .test domain:
sudo mkdir -p /etc/resolver
echo "nameserver 127.0.0.1" | sudo tee /etc/resolver/test > /dev/null
Next, we’ll configure dnsmasq to answer with 127.0.0.1 for any DNS requests ending with .test which includes subdomains. Open the file $HOMEBREW_PREFIX/etc/dnsmasq.conf in an editor of your choice using sudo. I’m using vim so I’ll be entering the following command in my terminal:
sudo vim $HOMEBREW_PREFIX/etc/dnsmasq.conf
Note: If you’re seeing an empty file when you open the above path in your editor, check that you have Homebrew installed and configured in your shell correctly by running
echo $HOMEBREW_PREFIXwhich will output/opt/homebrewor/usr/local/homebrew. If it doesn’t output anything, you probably should check the docs for troubleshooting.
You’ll see a lot of commented out text in this file. Go to the end of the file and append the following lines:
address=/.test/127.0.0.1
With that, we’ve told both macOS and dnsmasq to point to 127.0.0.1 for all requests to *.test. Only thing left is to configure dnsmasq to run in the background and on boot:
sudo brew services start dnsmasq
Note: It is necessary to start the dnsmasq service as root, hence the
sudo.
Installing Caddy #
Enter the following commands to install Caddy:
brew install caddy
Caddy uses a file called Caddyfile for configuration. If you installed Caddy using Homebrew, we can create our Caddyfile at $HOMEBREW_PREFIX which will be used whenever Caddy boots up:
touch $HOMEBREW_PREFIX/etc/Caddyfile
Open this file in an editor and enter the following for now which will be explained later:
{
  local_certs
}
Now let’s start the Caddy service:
brew services start caddy
Note: You don’t need
sudohere.
You can verify that Caddy has been started by running brew services:
❯ brew services
Name    Status  User     File
bind    none
caddy   started sangeeth ~/Library/LaunchAgents/homebrew.mxcl.caddy.plist
unbound none
Trusting CA certificates #
To get HTTPS to work without our browsers throwing that error message with scary red icons, we need to trust the certificates that Caddy automatically generates.
Caddy generates its own Certificate Authority (CA) which you can think of like the motor vehicles department of a country that issues driver licenses. Except in our case, Caddy is that department (or the authority), and it issues TLS certificates which is the equivalent of a driver’s license that allows for communication over https:// much like how one can drive on highways legally with a valid driver’s license.
Except, this new authority we set up is alien to macOS. So, macOS will throw a tantrum since we haven’t told about this new thing which makes sense cause otherwise, anyone can create their authority and it’ll be like the wild west. So, we need to tell macOS that we know this authority and we can trust the licenses or certificates that it hands out.
Run the following command to trust the CA root certificate that’s generated by Caddy:
security add-trusted-cert \
  -r trustRoot \
  -k ~/Library/Keychains/login.keychain-db \
  $HOMEBREW_PREFIX/var/lib/caddy/pki/authorities/local/root.crt
You might be asked for your password or fingerprint. If the command runs successfully, it’ll not print anything which means we can proceed to configuring Caddy.
Note: The
sudoversion of the above command with the-dflag also works but it adds the certificate to the System keychain for all users. I like to limit privileges wherever possible.
Configuring sites #
Let’s create a hello world site first to test that everything is working.
Run the following command to create a folder in your home directory and an index.html file inside it that says “Hello world”:
mkdir ~/hello-caddy
echo "<h1>Hello world</h1>" > ~/hello-caddy/index.html
Open your Caddyfile in an editor and enter the following and save the file:
{
  local_certs
}

hello.test {
  root {$HOME}/hello-caddy
  file_server browse
}
We define sites in our Caddyfile like the hello.test line above. You can define multiple sites one below another. Inside the curly brace, you define directives which tell Caddy what to do. In this case, we’re telling Caddy to use the root directive to set the working directory of this site to ~/hello-caddy and then serve the files inside it using the file_server directive. That’s how easy it is to serve static websites with Caddy.
The block without a site at the top is for common Caddy configuration that affects it as a whole. The local_certs line is telling Caddy to use only the locally generated CA for issuing TLS certificates for all the sites which is what we need.
To ensure we didn’t make any typos, we can run the following command to validate the Caddyfile:
caddy validate --config $HOMEBREW_PREFIX/etc/Caddyfile
You can ignore the INFO and WARN messages but you’ll need to check your Caddyfile if you’re seeing ERRORs.
Once validated, run the following command to restart the Caddy service:
brew services restart caddy
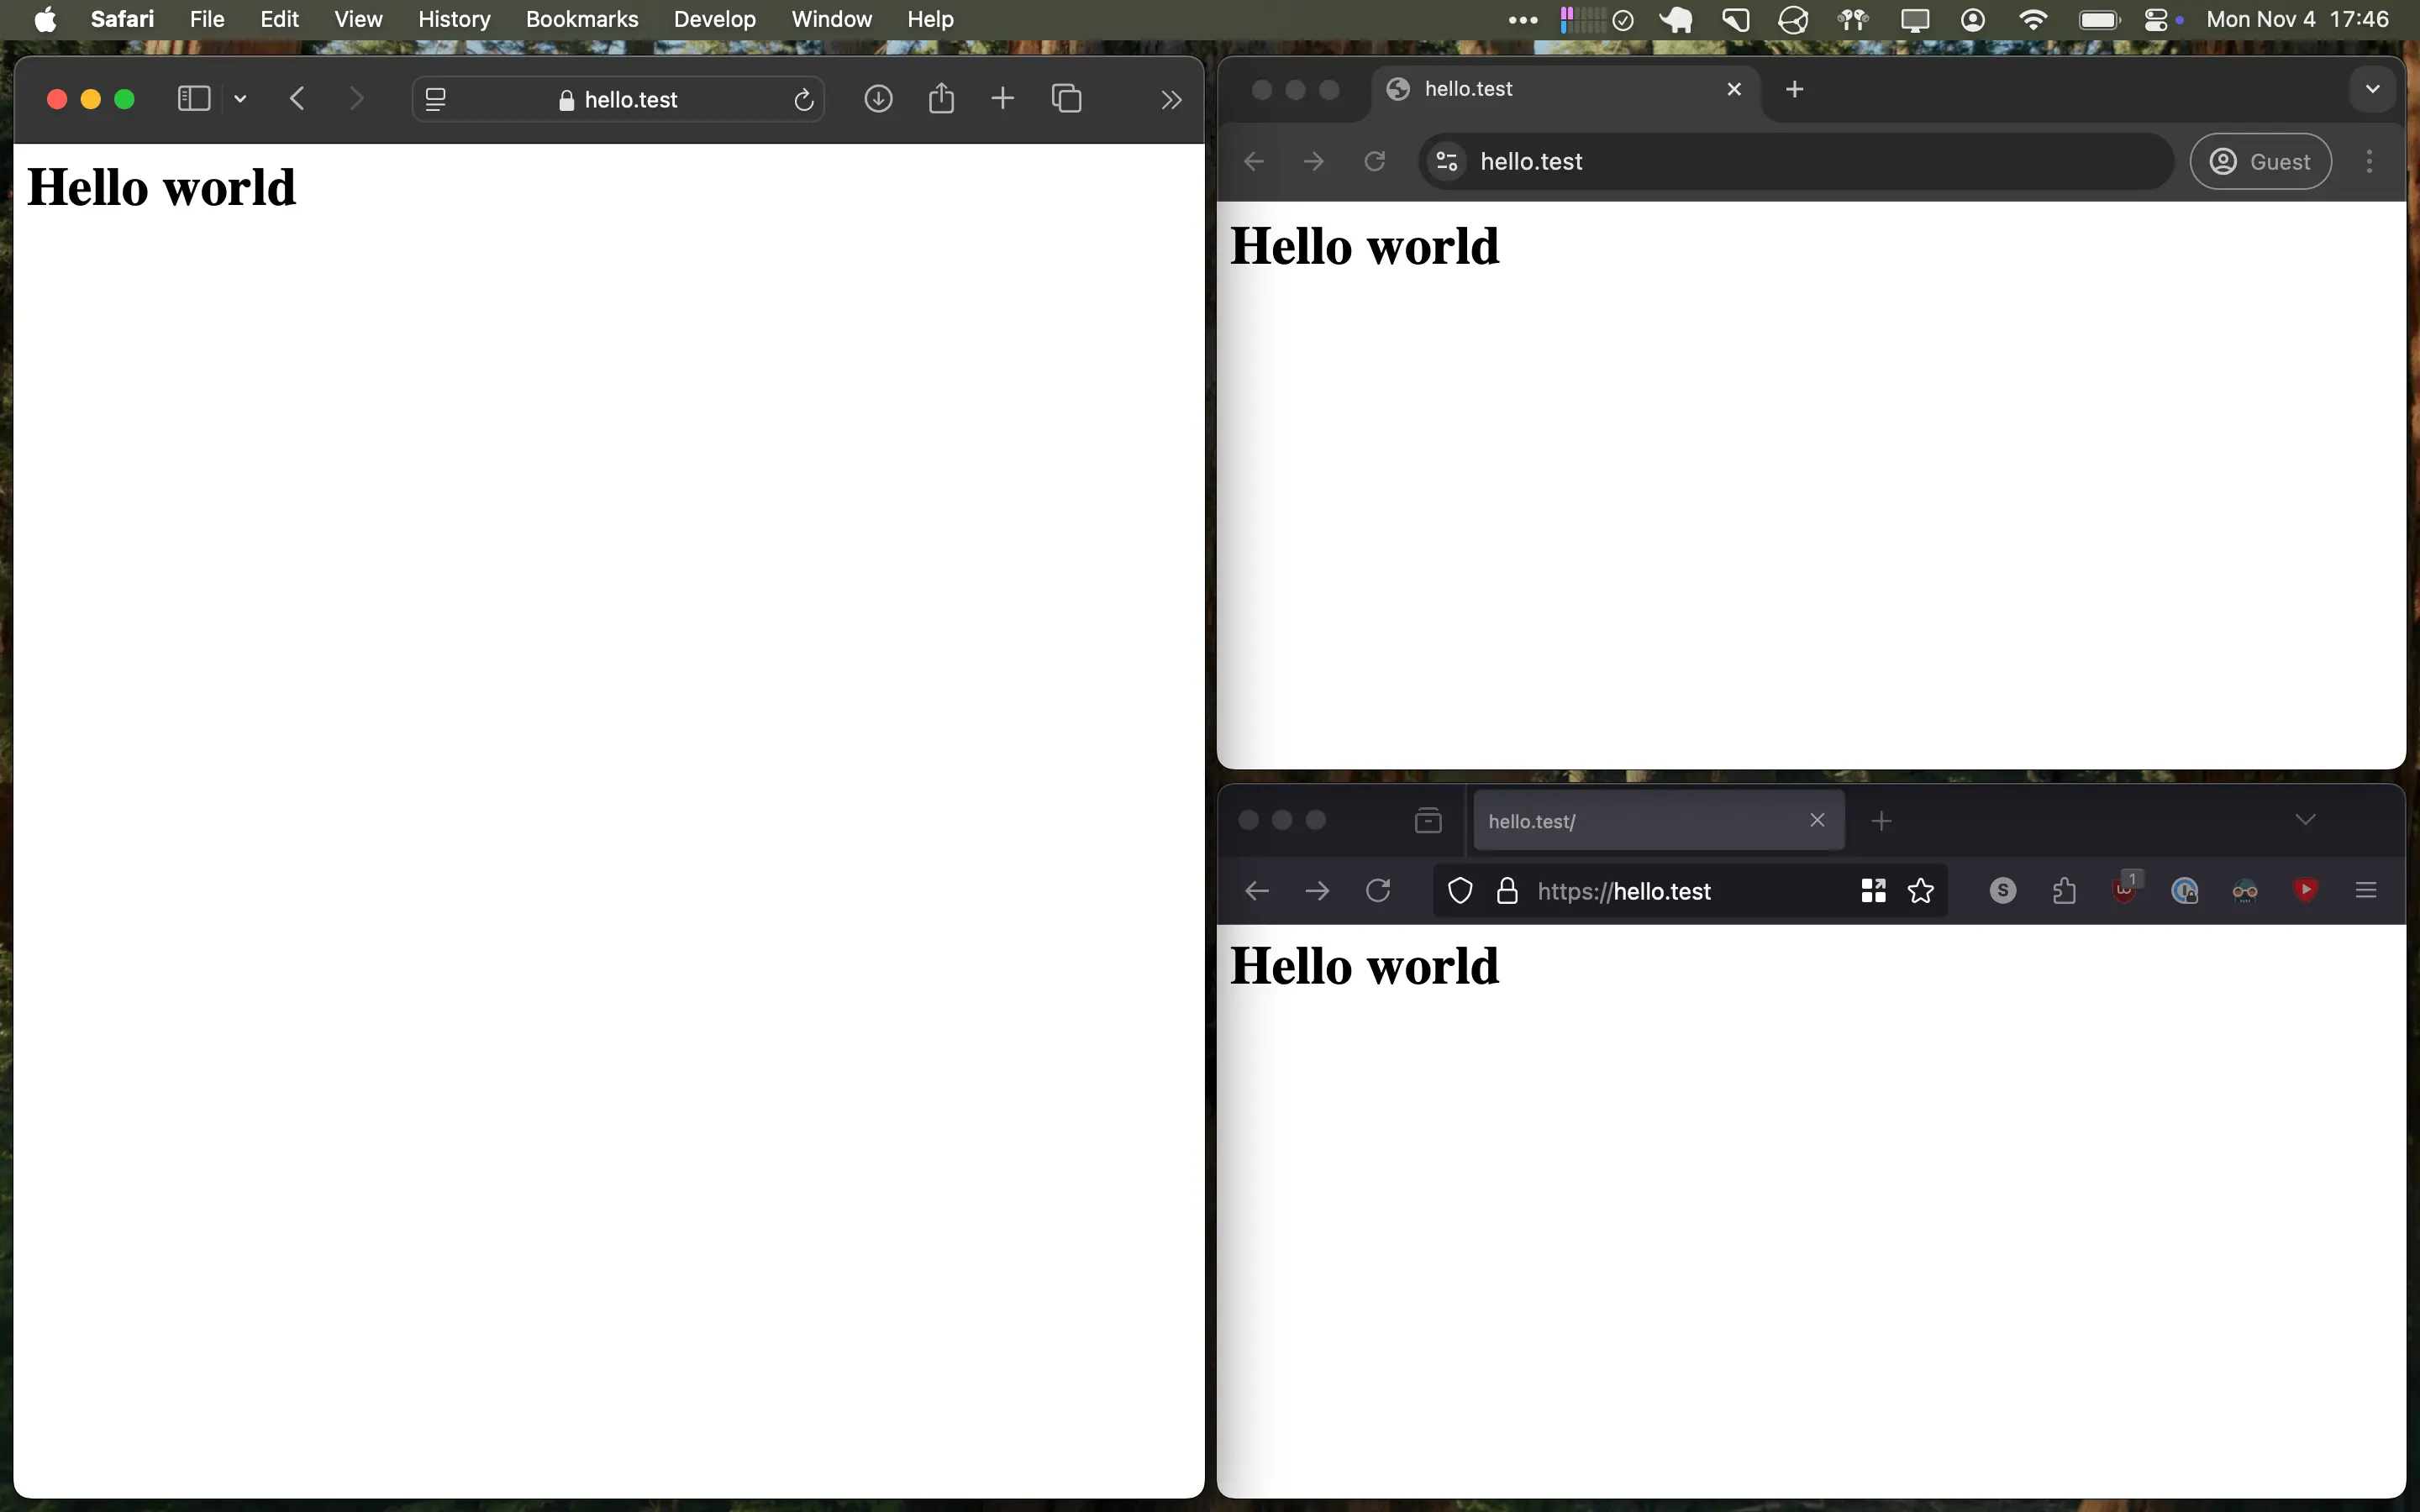
Open your browser and visit https://hello.test. If you didn’t make any typos or mistakes in the preceding steps, you’ll see a web page with “Hello world” displayed without any warnings, errors or scary red icons. Most modern browsers consider websites with HTTPS as normal these days and thus don’t go for the green flair or padlock icons. Here’s how mine looks on Safari, Chrome and Firefox:

Redirecting to localhost servers #
More often, we’re running running some kind of development server and not testing static websites. And that’s fine since Caddy can also behave like a reverse proxy. To see this in action, we’ll configure Caddy to redirect all requests to a local Vite dev server. You can follow along with any other servers though, even a simple python http.server would do but that’s not as dramatic.
Let’s scaffold a new React project and run it:
npm create vite@latest caddy-react -- --template react
cd caddy-react
npm install
npm run dev
In my case, this starts a dev server on port 5173. I want to create a new site react.test that will point to localhost:5173. For that, we’ll append the following into our Caddyfile:
react.test {
  reverse_proxy localhost:5173
}
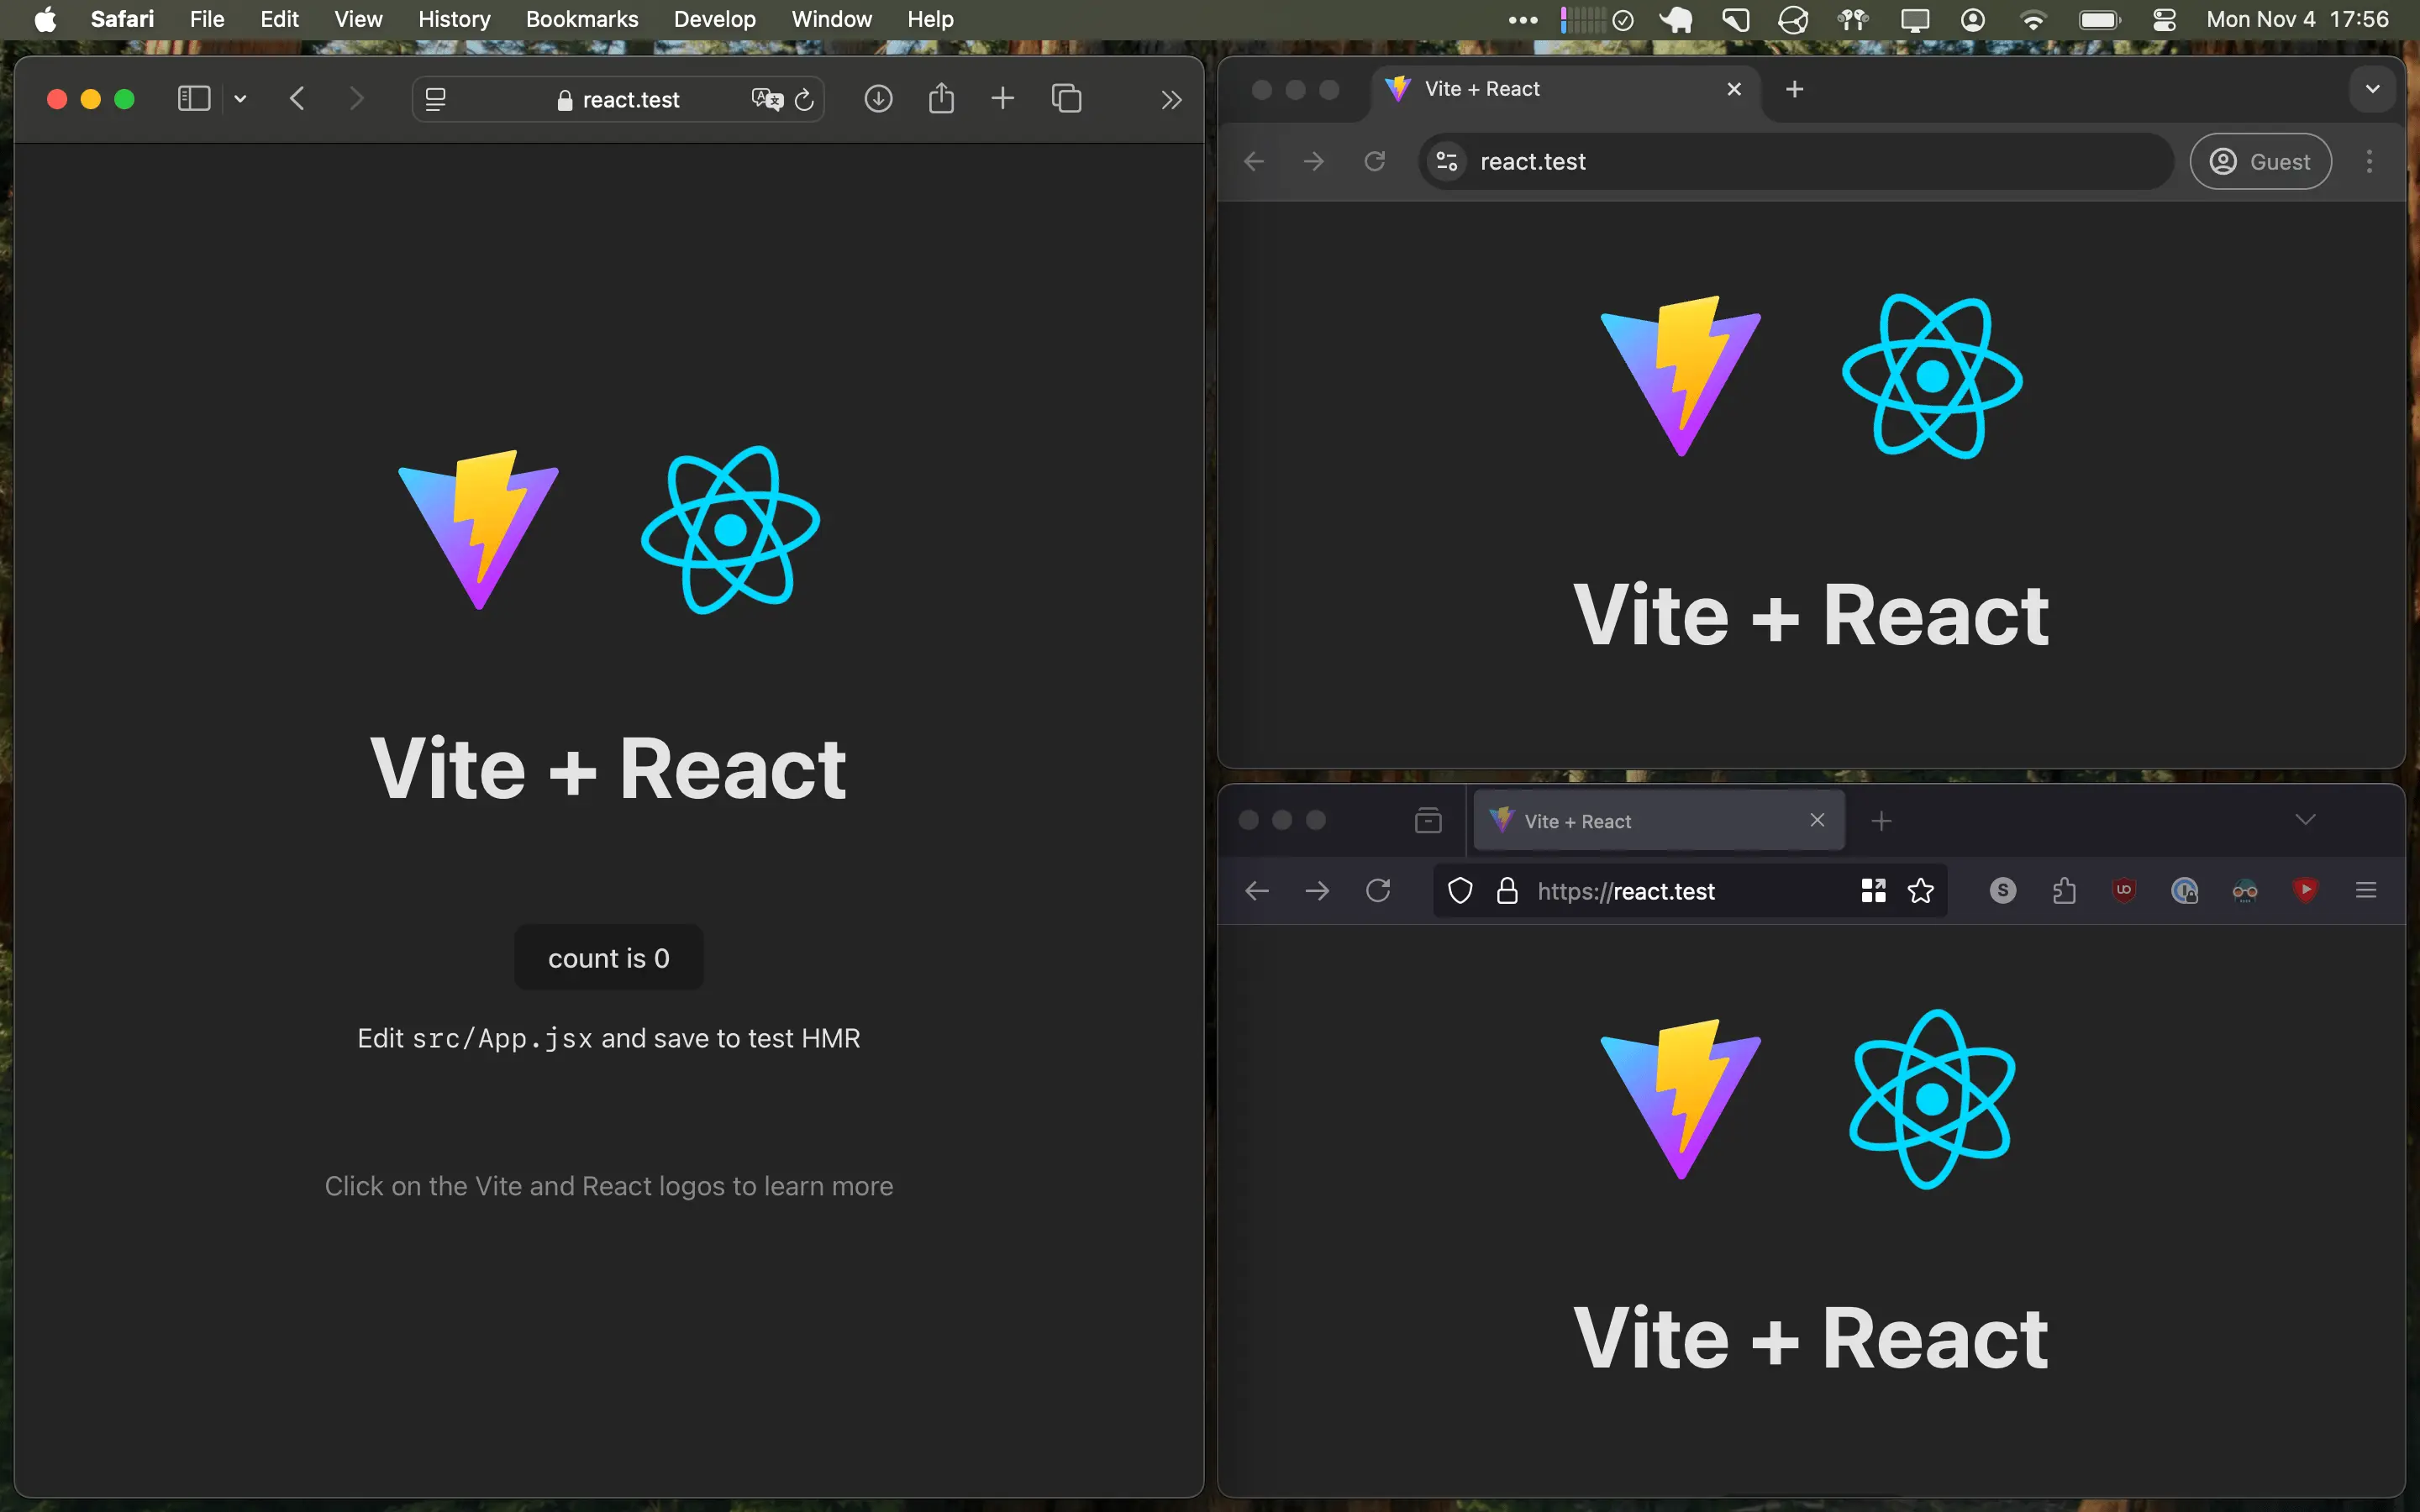
Save it and restart caddy from a separate terminal using brew services restart caddy like we did before. Now, visit https://react.test and you should see the default vite-react web page:

You can repeat this for any projects you’re working on and add them as new sites into your Caddyfile once and have them accessible over {name}.test thereafter. My recommendation is to add a few for the ports associated with common types of project like I did for Vite above and then add new entries as you work on new projects. Here’s my local Caddyfile as an example:
{
	local_certs
}

#
# Vite / React
#
vite.test,
react.test {
	reverse_proxy localhost:5173
}

#
# Next
#
next.test {
	reverse_proxy localhost:3000
}

#
# Hugo site: blog.sangeeth.dev
#
dev.blog.test {
	reverse_proxy localhost:1313
}

staging.blog.test {
	root {$HOME}/dev/gitea/blog.sangeeth.dev/public

	file_server browse
}
Some alternatives I explored #
When writing this, I was hoping to discuss the mDNS services macOS ships with which allows for *.local domains that work across devices in the same local network (at least, Apple devices) but it didn’t turn out to be that easy.
First, you can’t have subdomains like bar.foo.local which is a mild inconvenience. Next, you’ll need to add each site to both your Caddyfile and to the mDNS service via a command which is the bigger pain. I wanted to add it in one place and be done with it which is not something this system affords out of the box at present. Though, there’s a paid software called LocalCan which simplifies and provides this functionality in a neat GUI that you might want to check out. It also has other tricks up its sleeve.
Another option was using .localhost label which is something almost globally defined to resolve to 127.0.0.1. This works and I could have foo.localhost defined in Caddy and it would work without needing any additional macOS configuration like we need for .local and .test domains above. The problem is that this isn’t guaranteed to work in Safari at the moment and is an open Webkit issue. It certainly didn’t work for me when I tried which made me look into the dnsmasq approach.
I’m not sure if there are simpler (and free) solutions out there which achieves similar end results but if you know of any, let me know in the comments.