I don’t know about you but I get tired of seeing the same font on my screens—especially when I’m coding. Which is why I procrastinate every now and then to switch up my terminal and editor fonts. I like to think it’s relatively well-known in the dev circles that you can indeed change the fonts in your IDE or your terminal. Well as it turns out, you can change fonts in your browsers too.
Google Chrome, Firefox and other Chromium browsers like Microsoft Edge and Arc make it easy to change default fonts, font sizes and other font settings. This allows us to set a custom monospace font whenever unstyled pre or code tags are used or if the CSS styling has font-family: ui-monospace or font-family: monospace. Surprisingly, many sites still stick to using the default monospace instead of always slapping Google Fonts link tags.
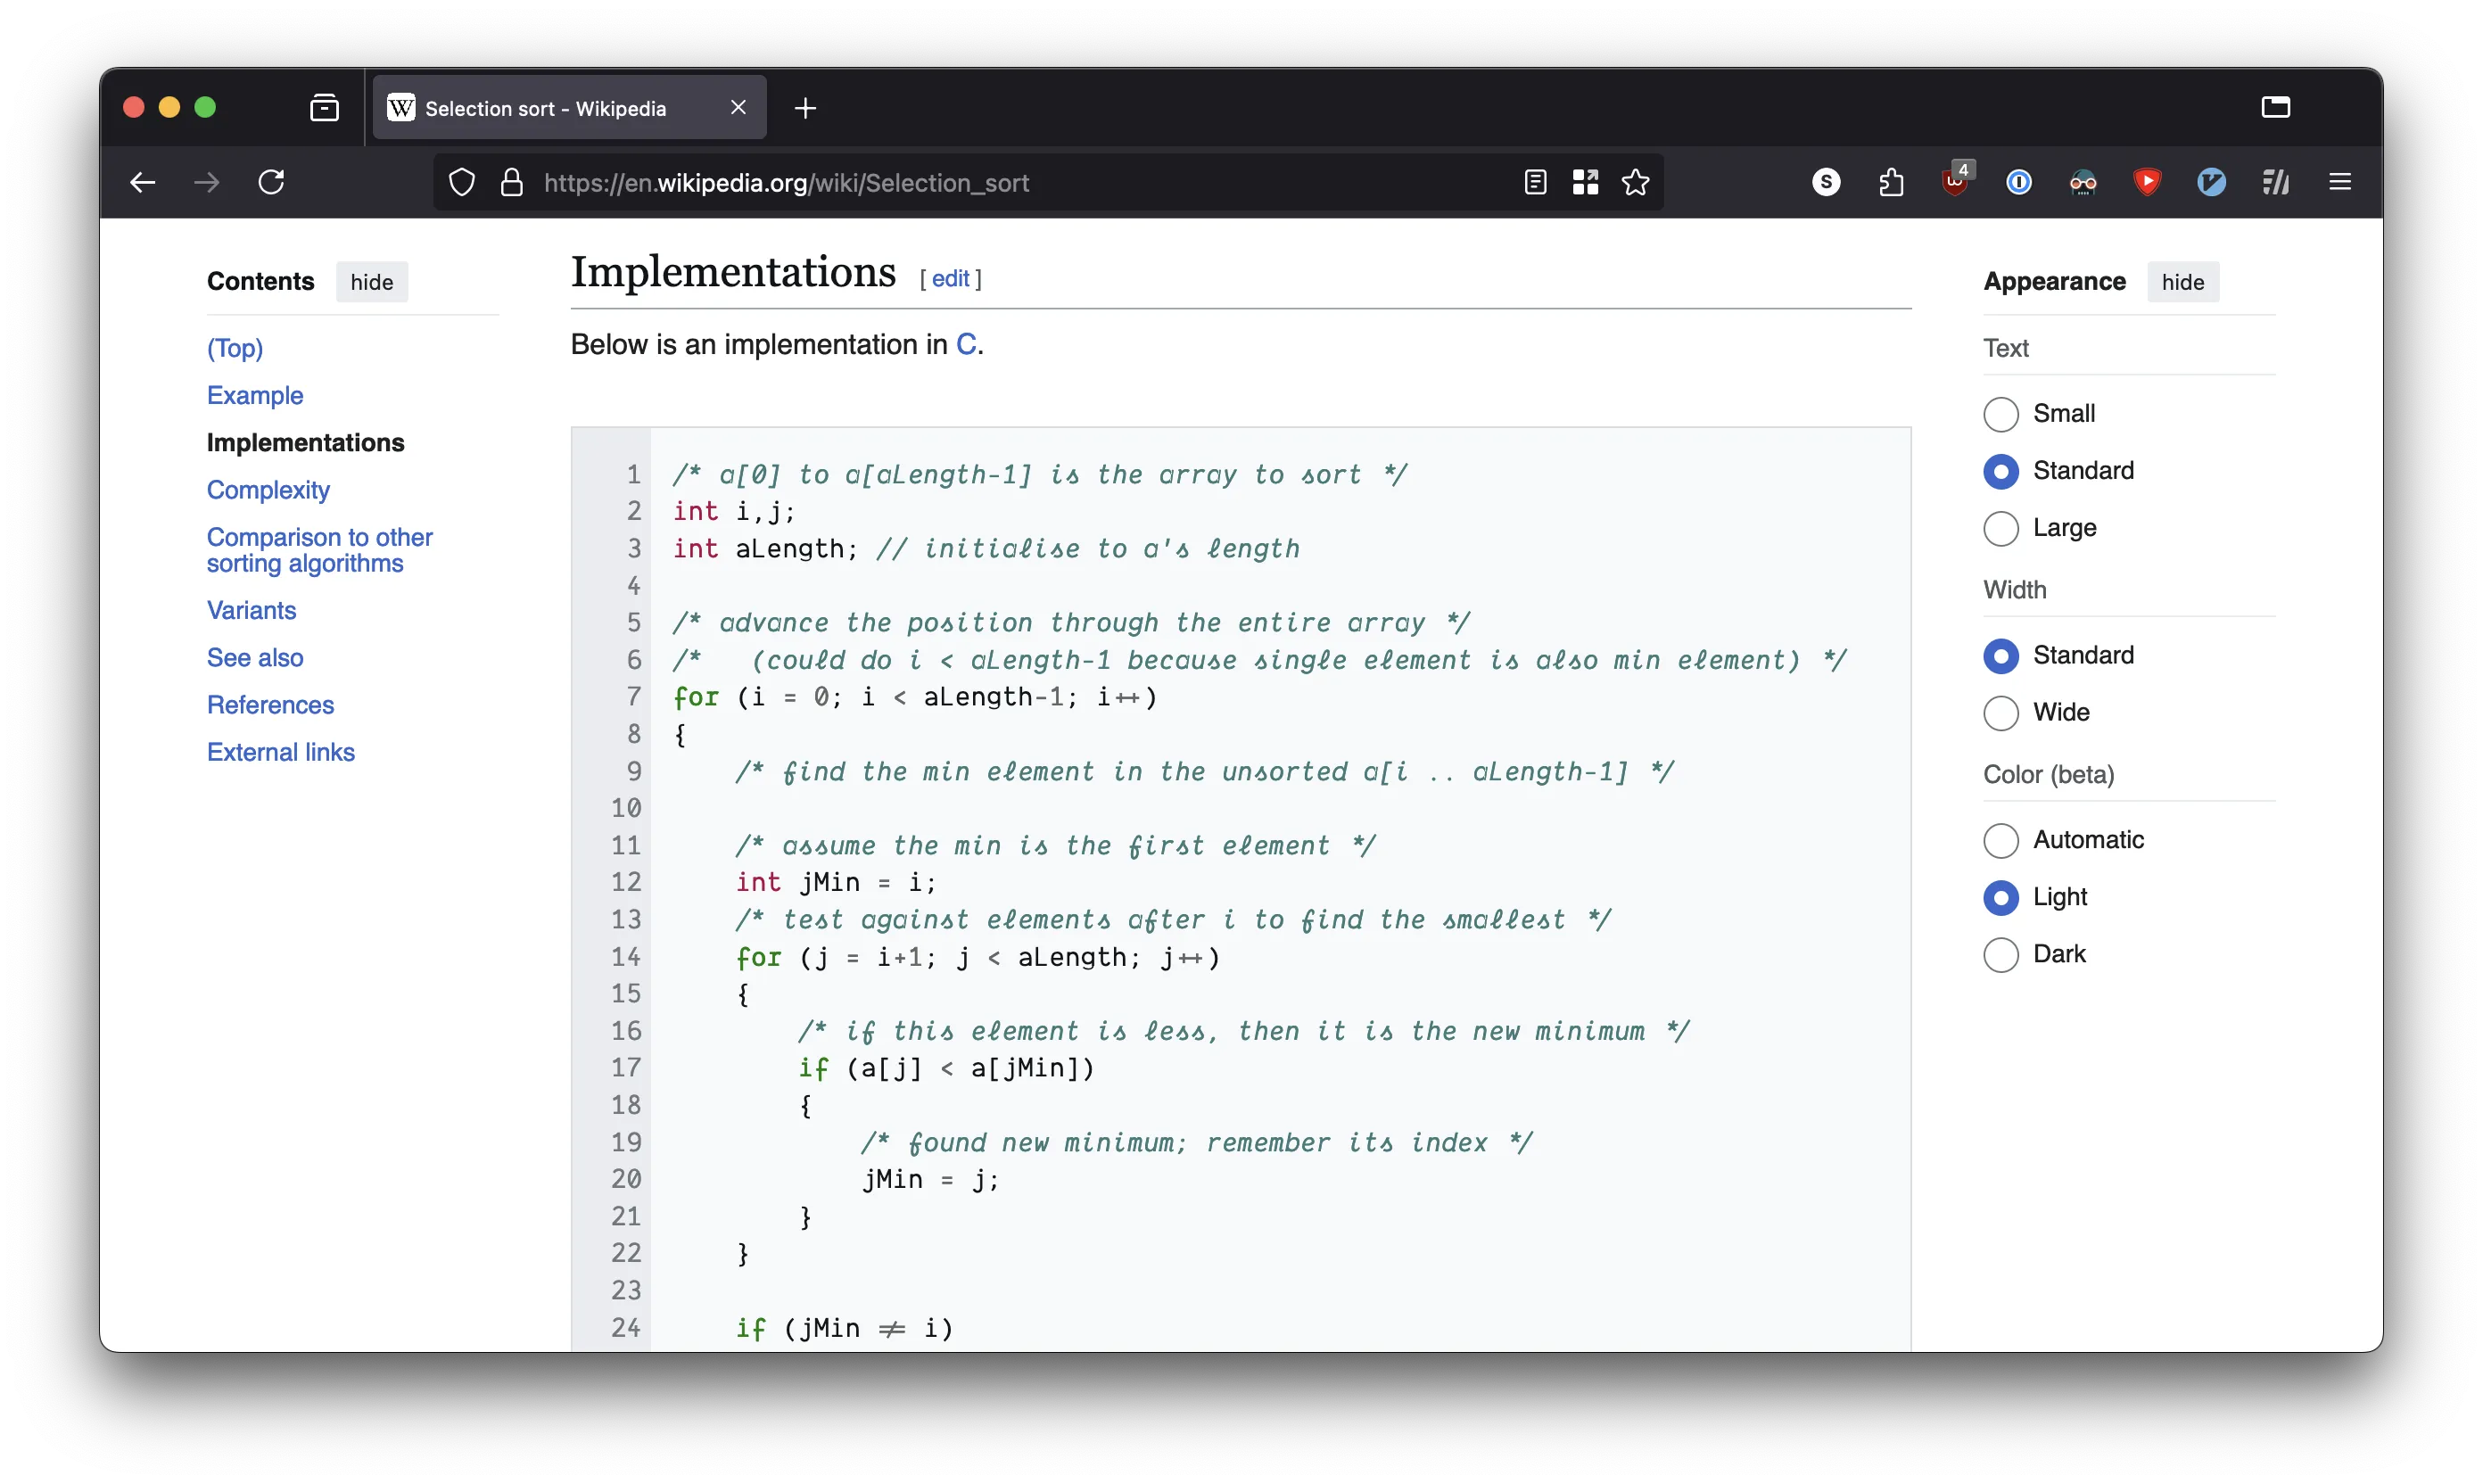
The party pooper for this exercise is Safari, which doesn’t support this feature as of writing this. Based on my googling, it seems like this was possible in Safari 12 but has since been removed. If any Safari team member stumbles into this post, I hope you’ll campaign hard to bring this feature back.
Let’s try this out. I believe the steps for Windows/Linux should be very similar if not the same.
Google Chrome, Edge, Arc and other Chromium browsers #
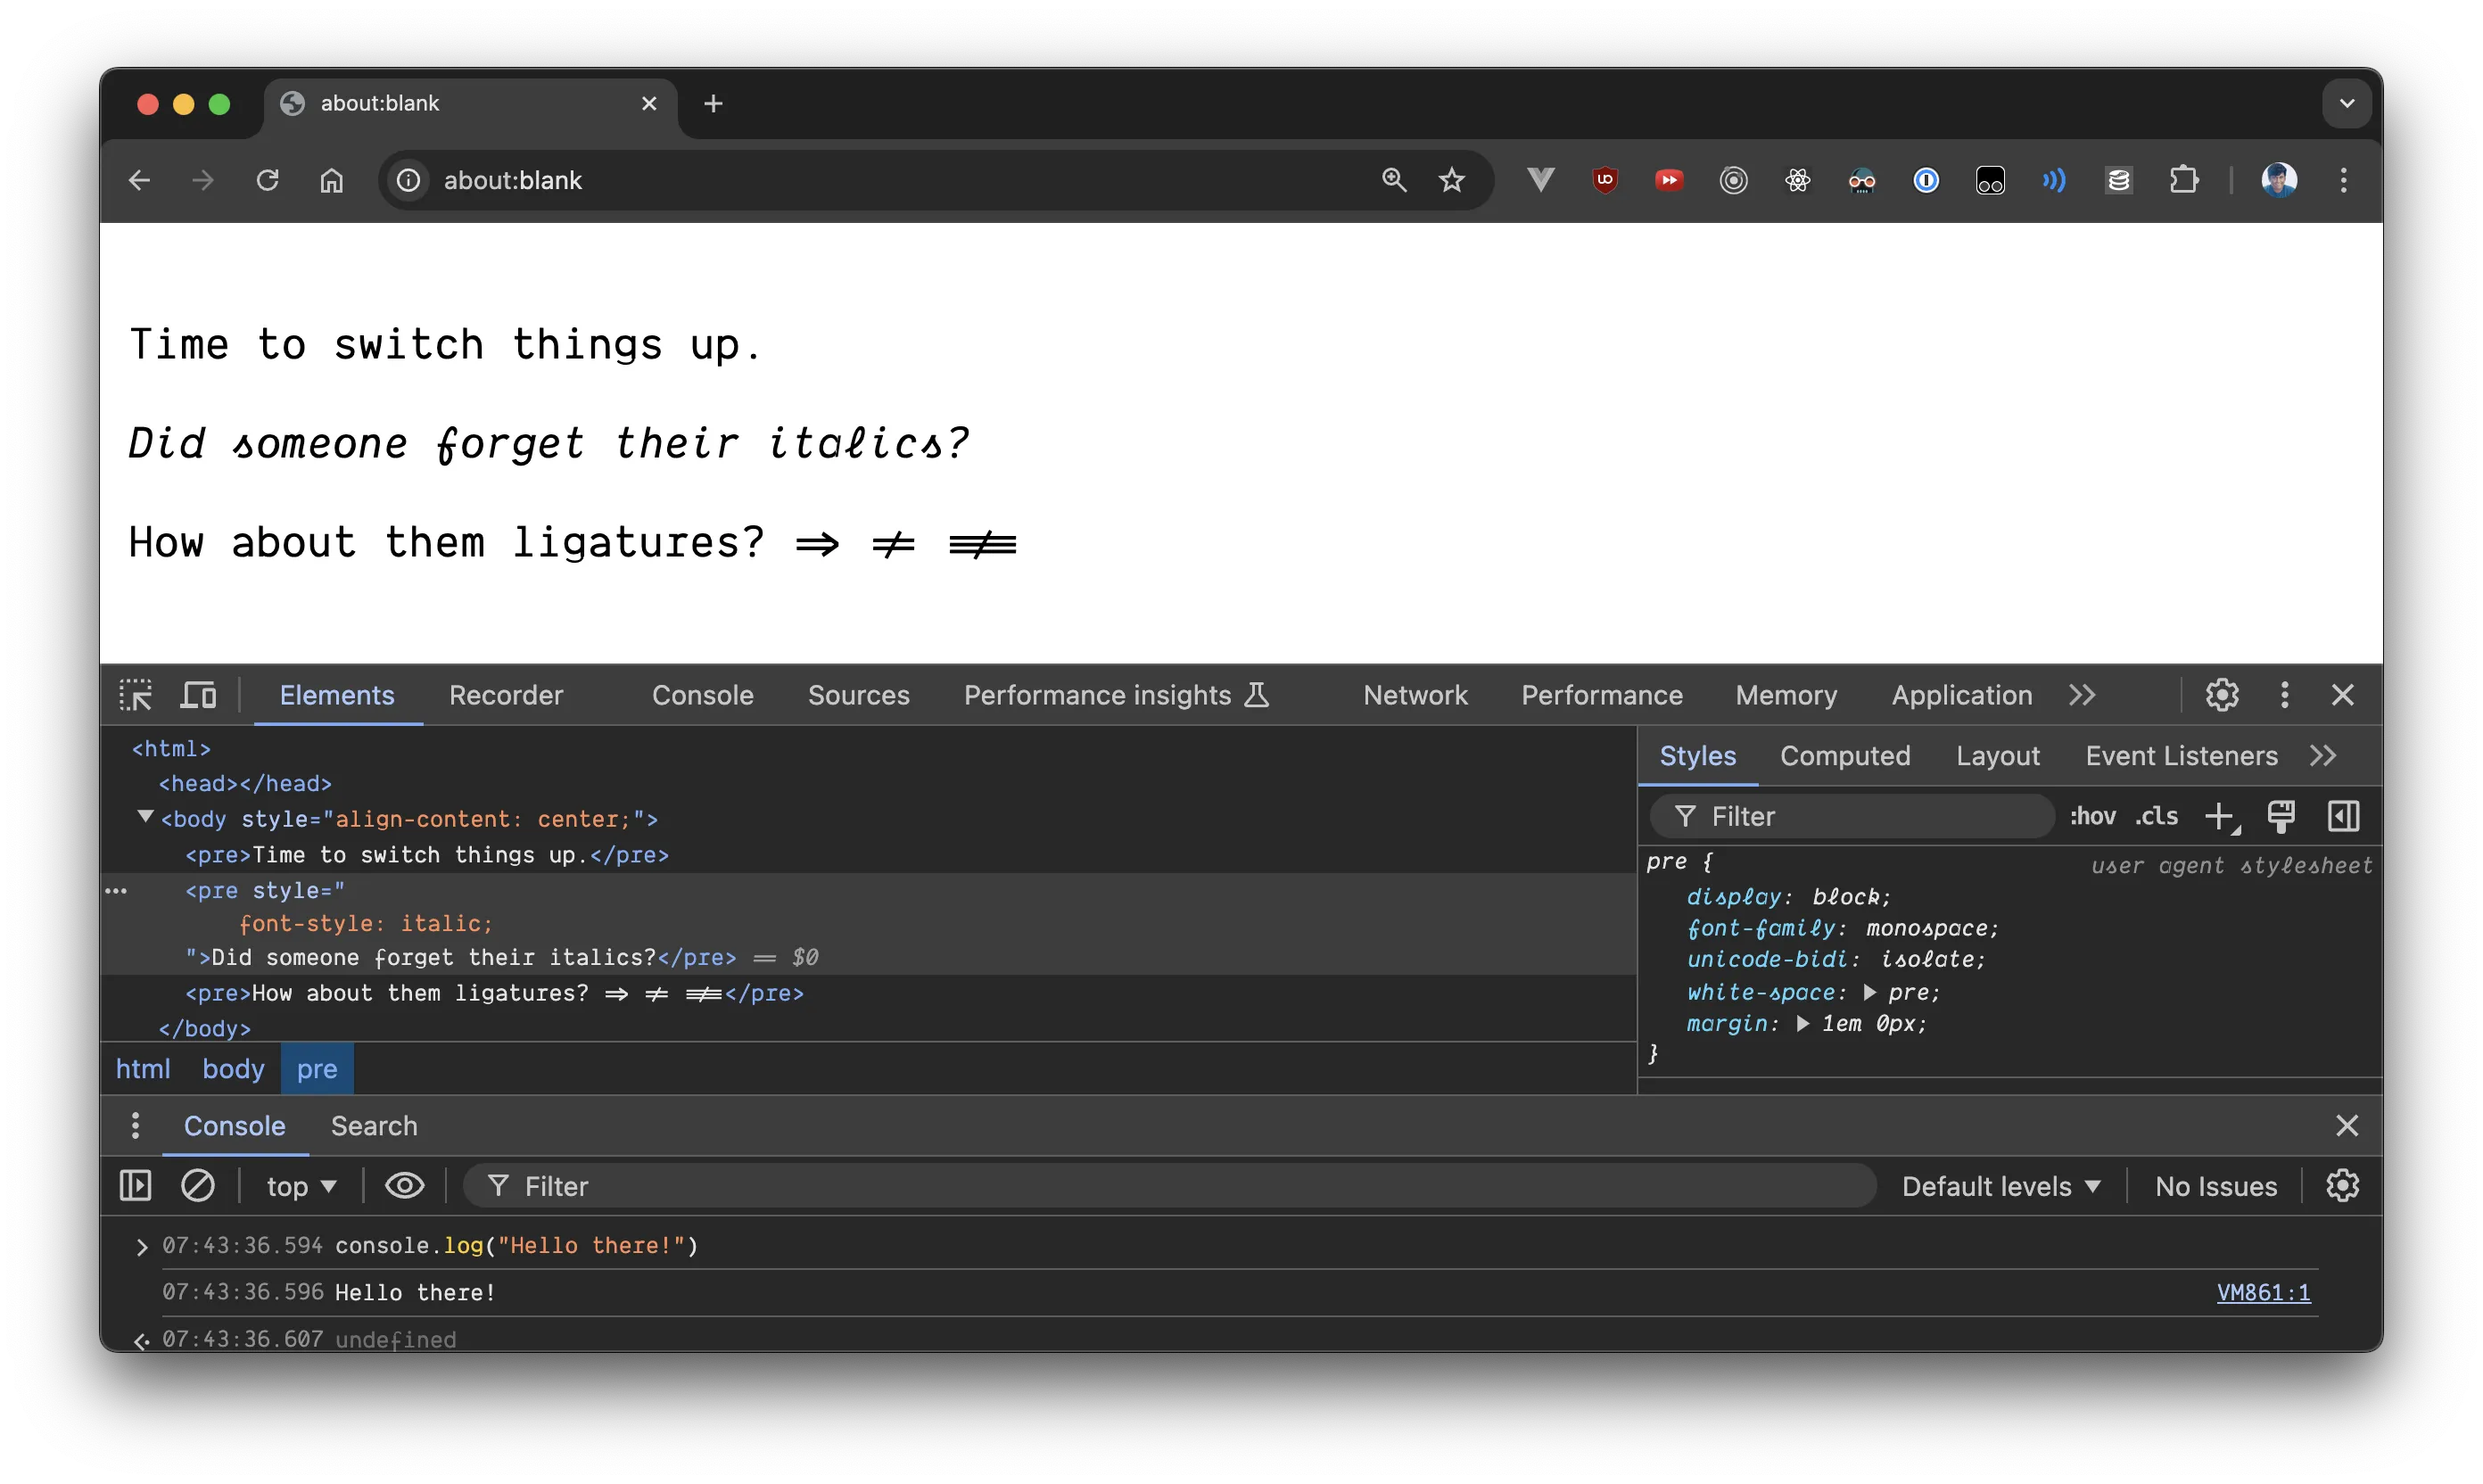
- Enter
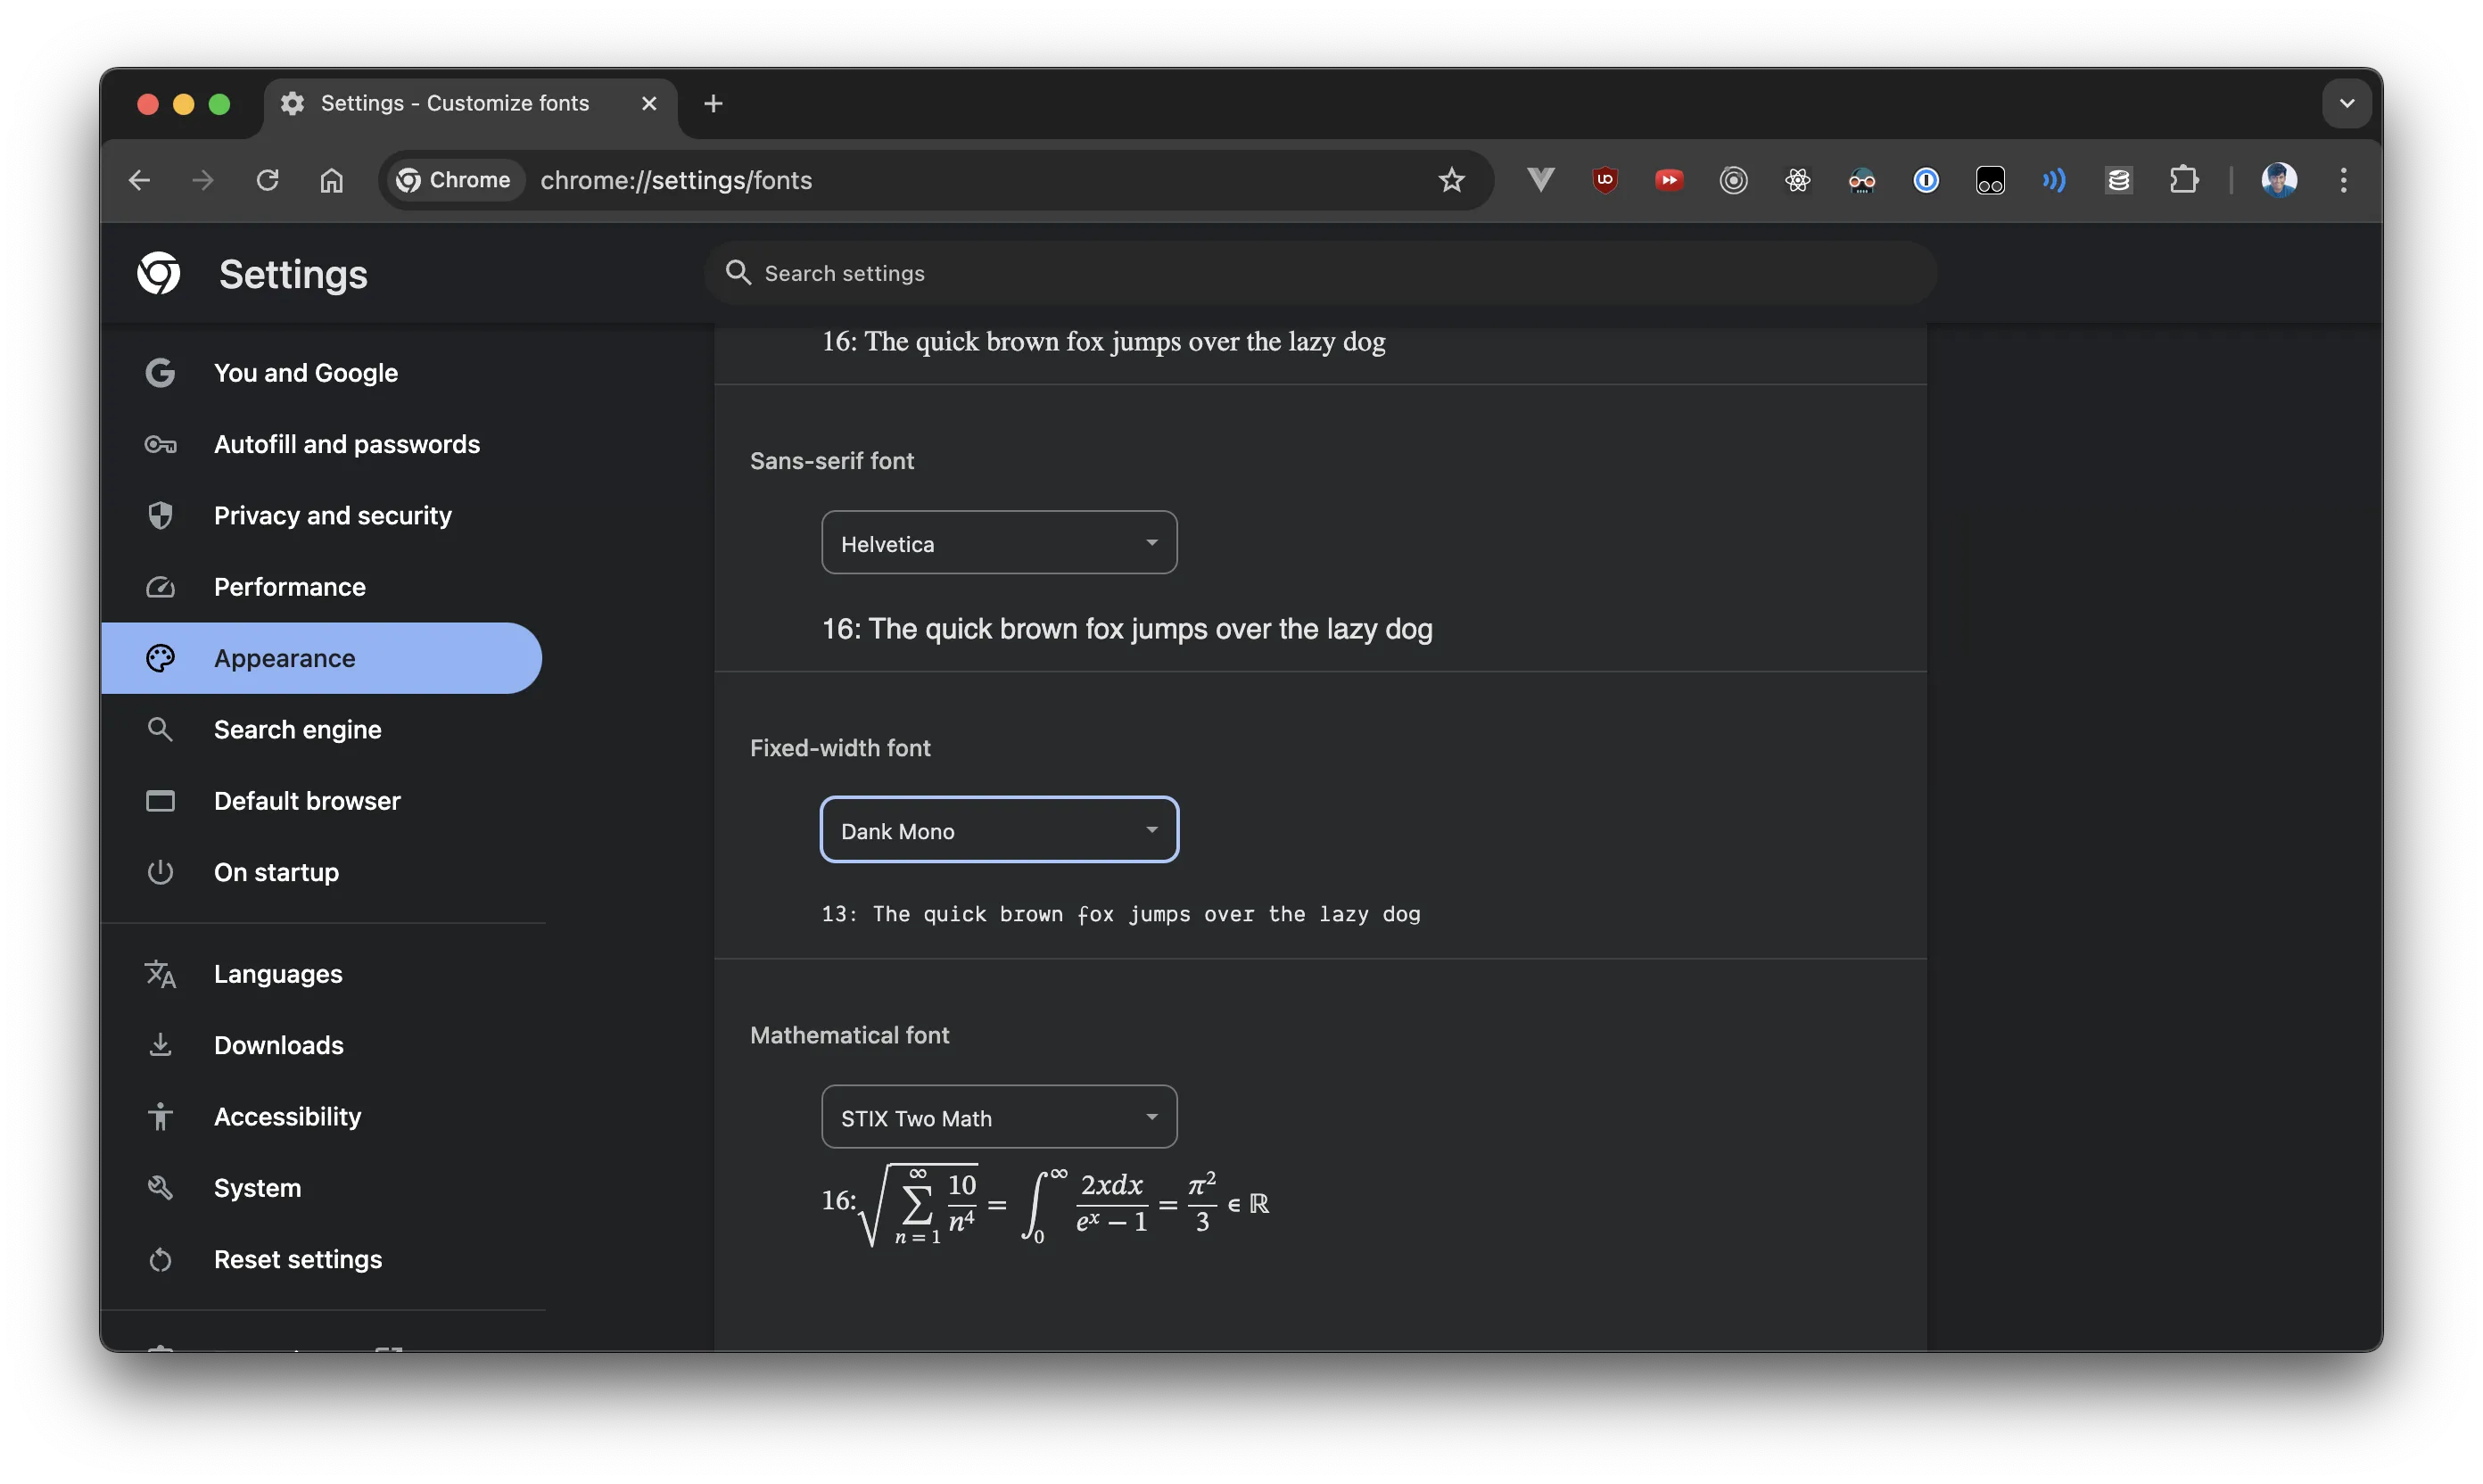
chrome://settings/fontsin the address bar and hit enter - Scroll down to Fixed-width font
- Choose your font from the dropdown menu:
- Click OK to save the changes
Firefox #
- Enter
about:preferencesin the address bar and hit enter - In the top-right search field, type “font” to filter the settings. You should see just one option:
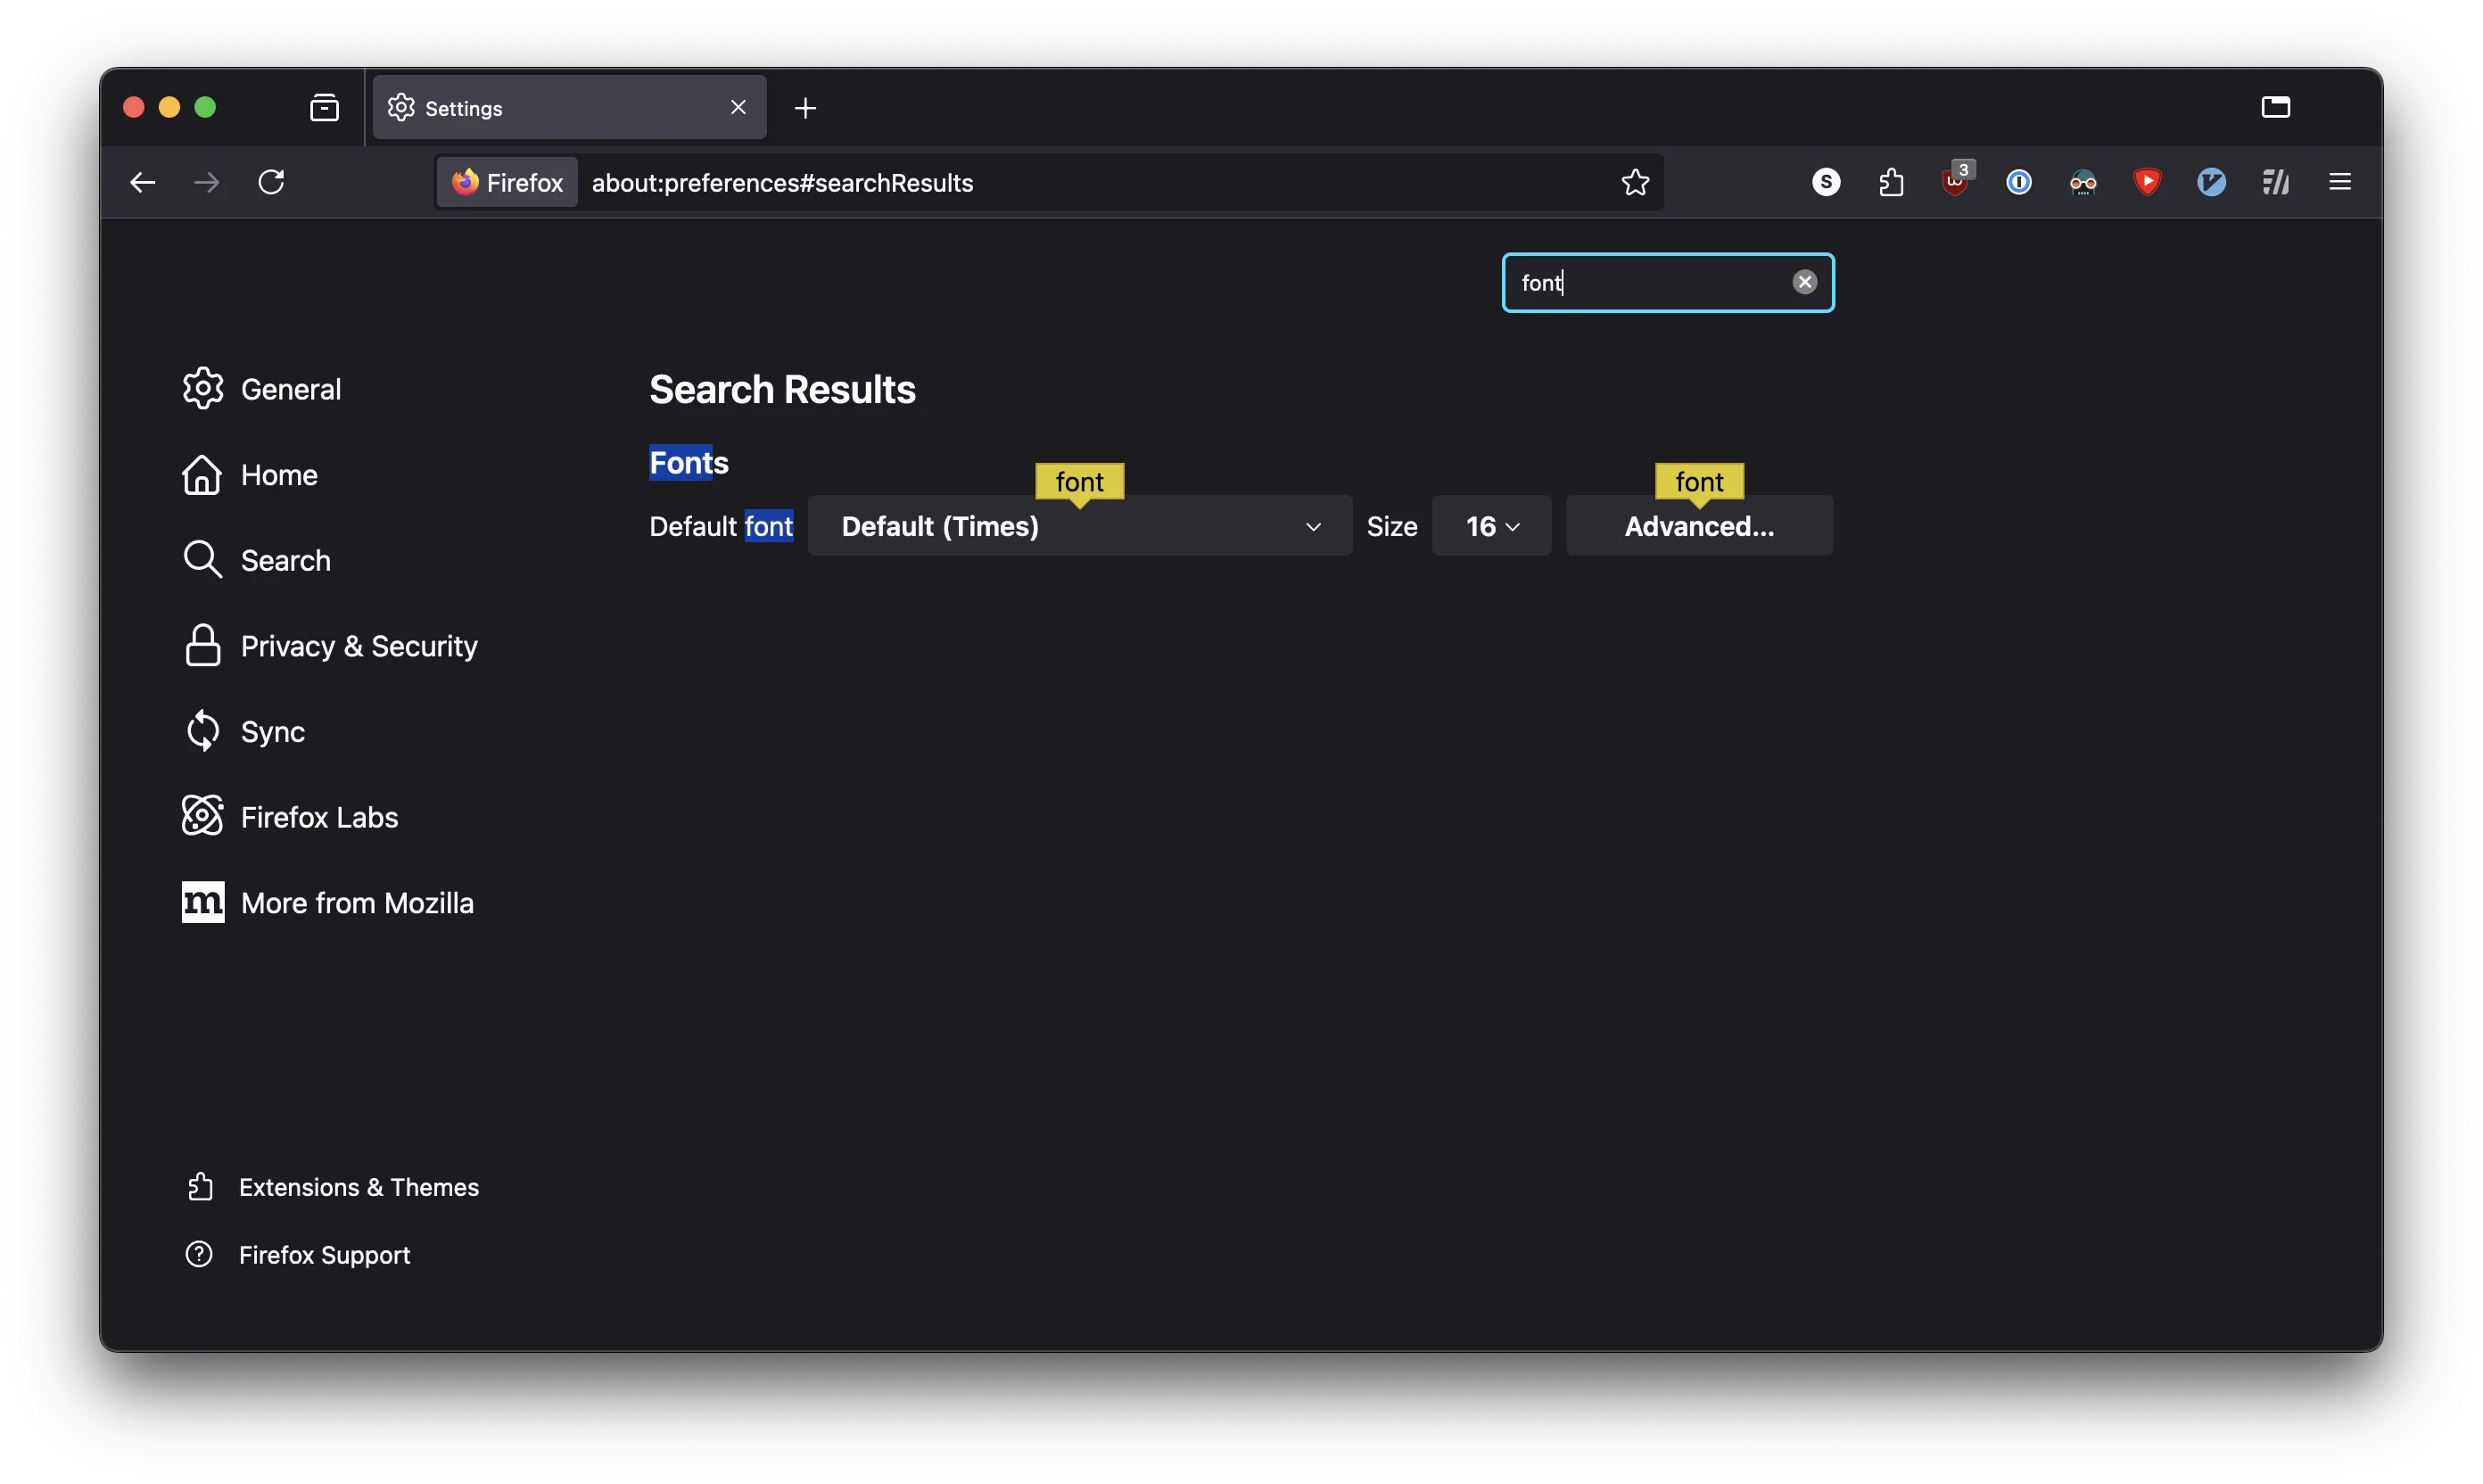
- Click the Advanced button
- Select your font from the Monospace drop-down menu:
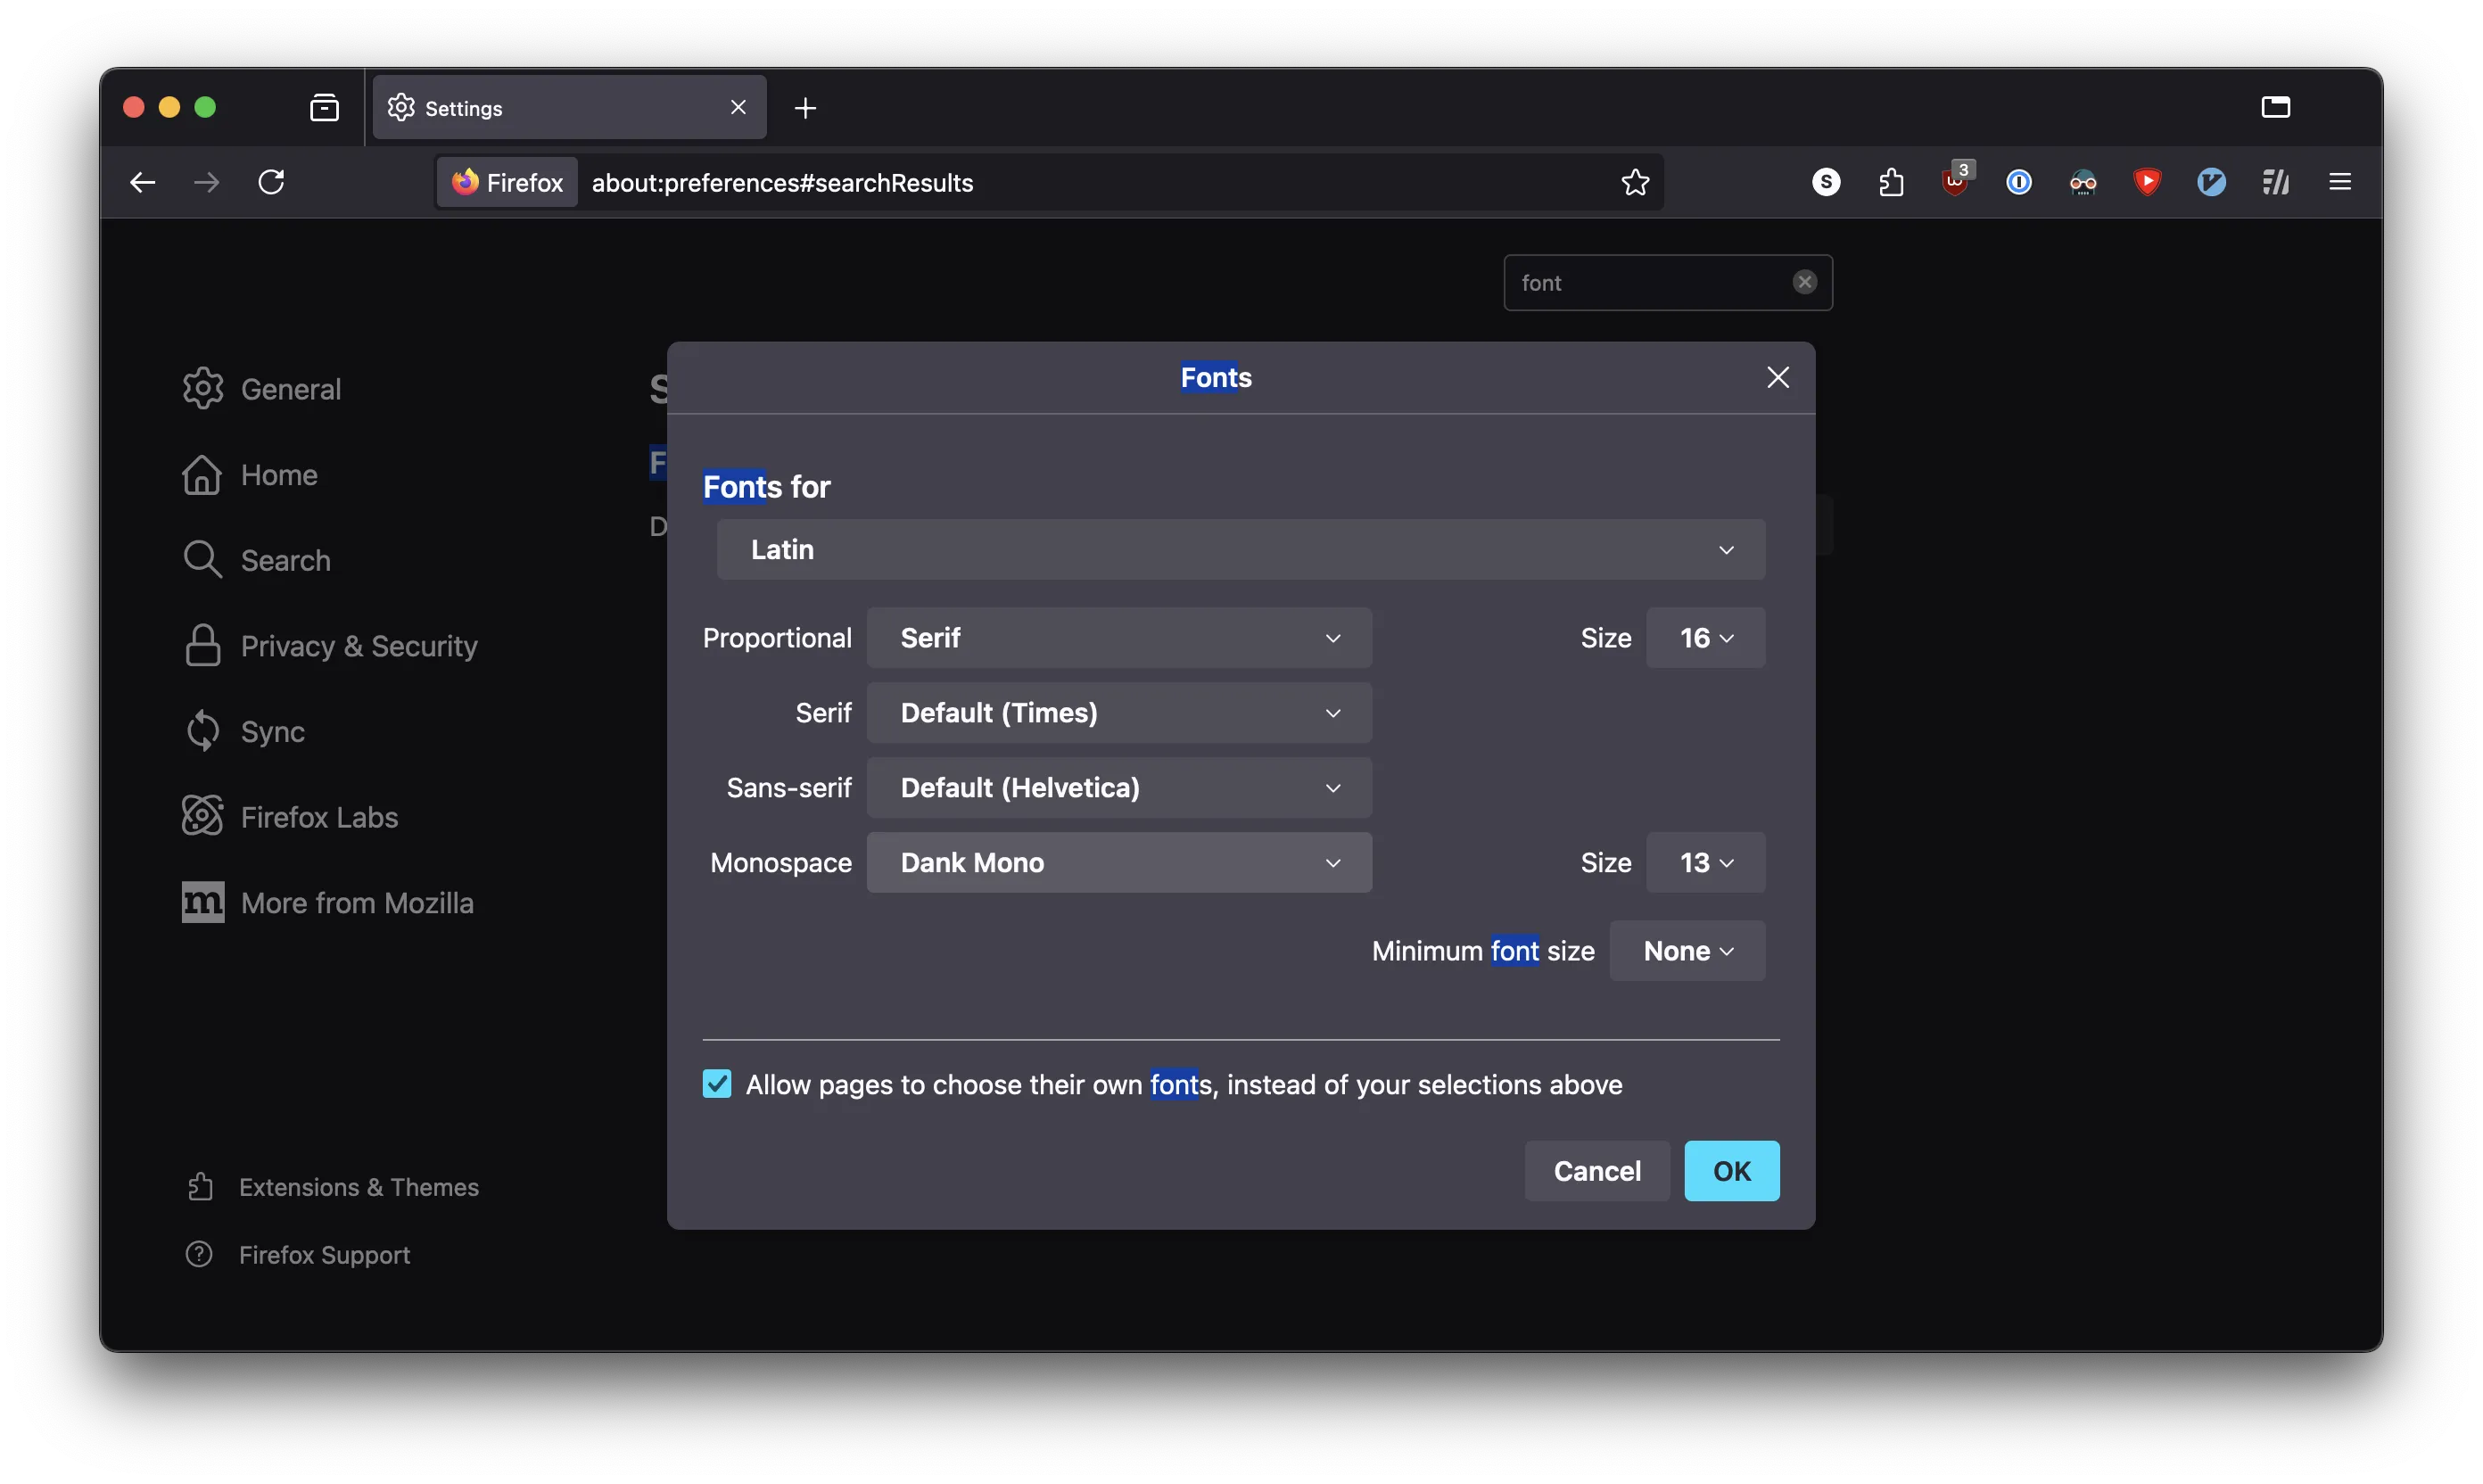
Firefox also allows overriding website’s font choices with the Allow pages to choose their own fonts… checkbox as seen in the screenshot above. I tested this by going to web.dev and it seems to work.
That’s it. If you now go to any of your favorite coding sites or if you look at JSON after hitting some API endpoints, you’ll see your fancy new monospace font used to render the text.
If you poked around a bit more while following the steps above, you must’ve noticed that you can customize other default font related settings too, including font size. Try changing those and see how it affects your favorite websites. The font size especially matters because 1rem usually defaults to whatever size you choose from this list. This is why web devs typically recommend using rems for font-sizes since it respects your wishes on how large the text looks.
Of course, these changes won’t affect websites that already load and use specific custom fonts. You can override that too, with custom user-agent stylesheets and do a lot more than changing fonts. I’ll save that for another article.
Anyway, I hope this short guide helped to slightly jazz up your web surfing experience.